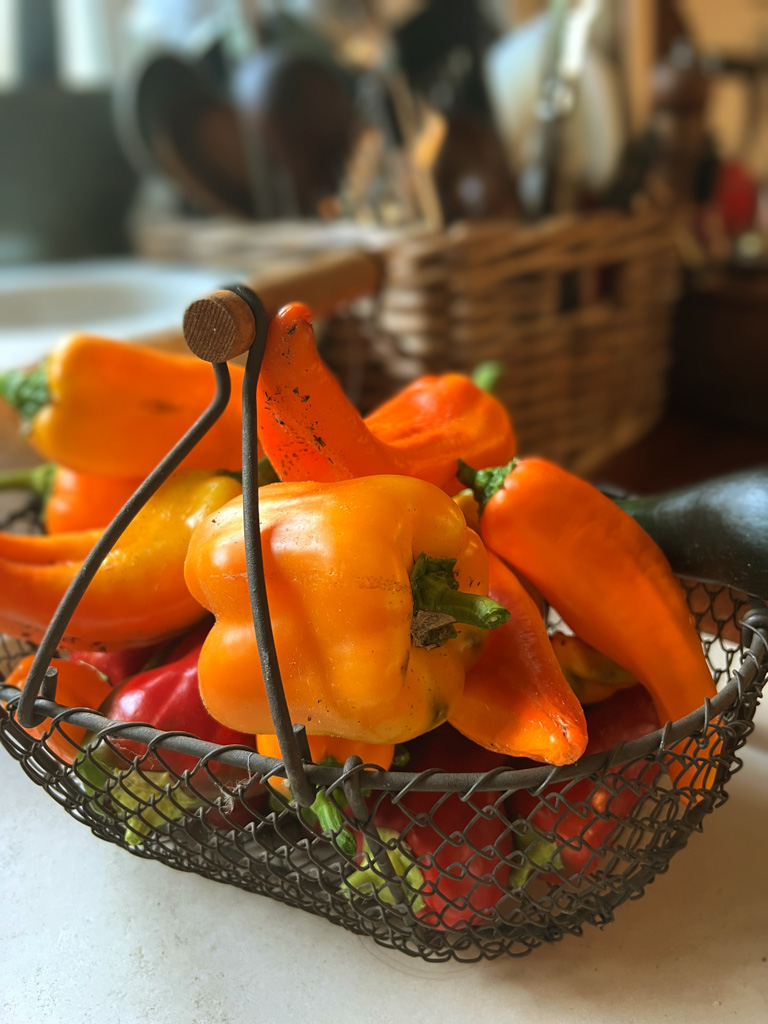
We still have sweet peppers in the potager and they are super sweet and colourful. This will probably be the last batch for this season. So I decided to make piperade which we love. I do it a bit different than the original way that comes from the southwest in France, particularly the Basque region. I make mine seperately in the oven and mix it all together at the last minute before serving. Its a bit less juicy and saucy and the flavors of all the ingredients harmonize without losing their individuality. We especially enjoy it on rustic toasted country bread for a lunch.
Piperade with homegrown peppers
Recipe:
- 4 large pepper of different colours.
- On large onion
- A big handful of cherry tomatoes, or grape tomatoes, cut in half
- 4 cloves of garlic, cleaned and lightly squashed
- salt and pepper
- Olive oil
- Fresh thyme
- Raspberry flavoured balsamic vinegar
- Preheat the oven to 180 degr C.
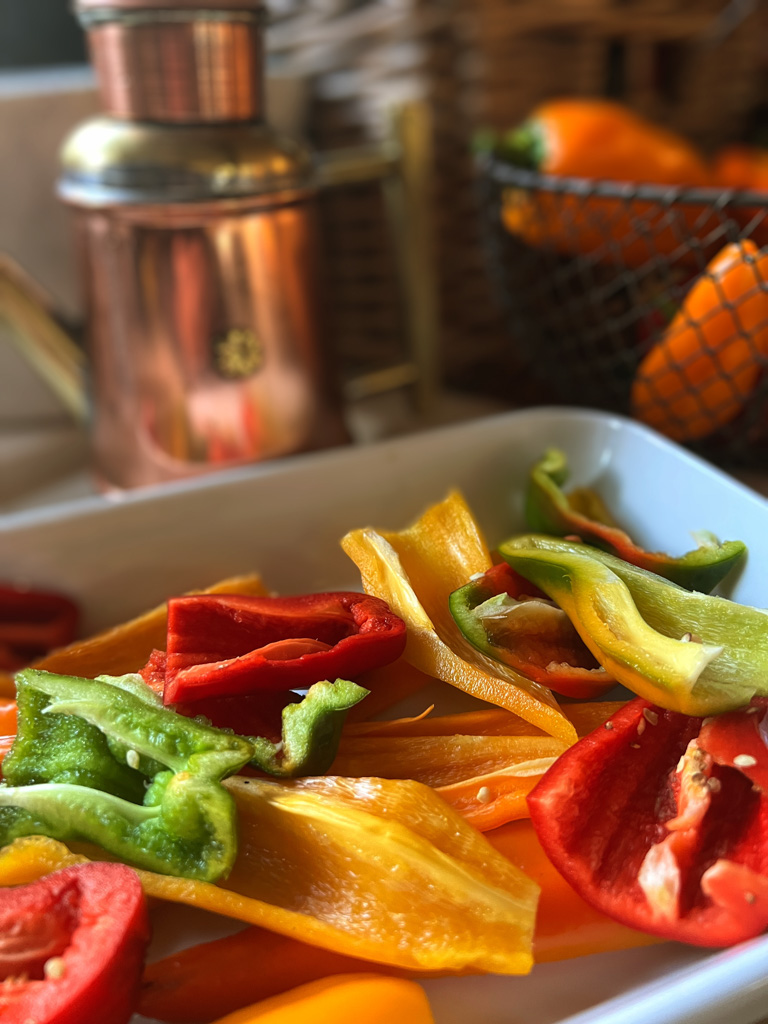
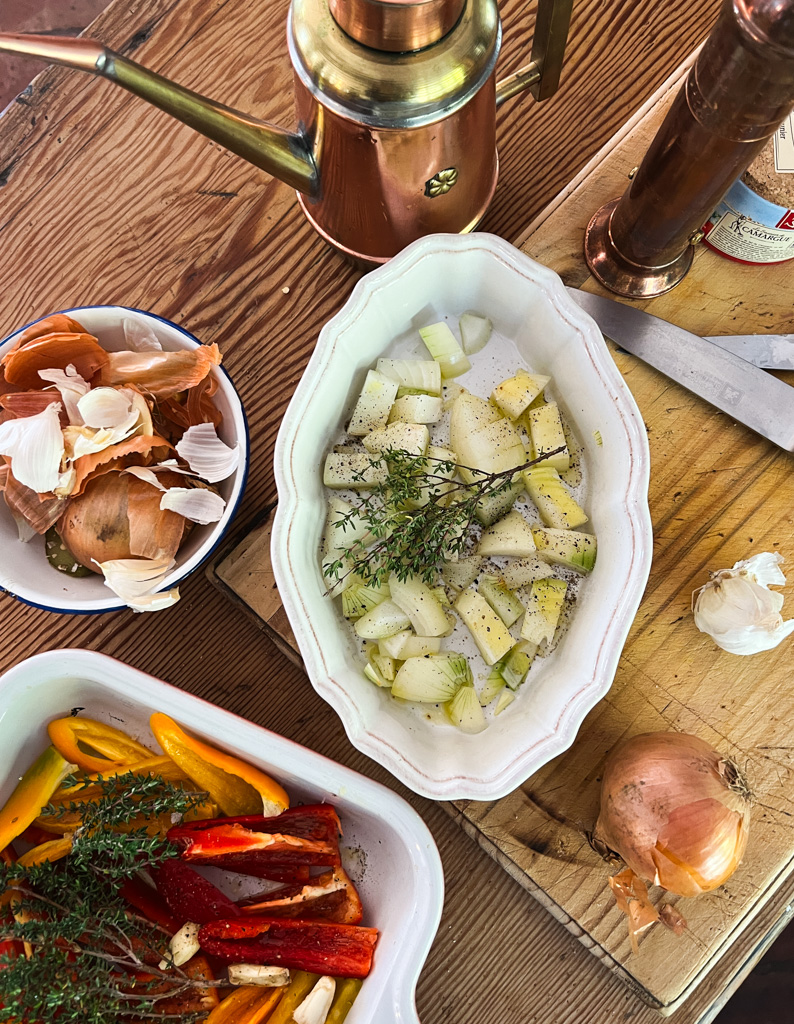
- Wash the peppers and slice into chunks, or thin slices if you prefer. Add to an oven pan with fresh thyme and drizzle liberally with olive oil.
- Clean the onion and cut into medium chunks. Add to another oven pan .
- Wash the cherry tomatoes or grape tomatoes and slice in half. Add the tomatoes to the onion and add the cleaned and squashed garlic cloves.
- Roast the vegetables in the oven pans until tender and slithgly charred, for about 30 minutes. Take care not to burn the peppers. If youve sliced them thinly, they will roast quicker.
- Remove from the oven, mix the vegetables together, drizzle with more olive oil, season with salt and pepper and drizzle finally with some raspberry flavouredbalsamic vinegar.
- Serve warm or at room temperature with crusty bread or as a side with meat or fish.
Serves about 4 people as side dish

A pinch of salt:
- Enjoy with slices of toasted whole wheat bread.
- Serve as a side with fish or chicken.
- Add tarragon instead of thyme if you serve it with chicken.
- A full vegetarian meal.
- For a meat version, add grilled sliced chorizo before serving.
- If you slice the peppers into thin slices, they will roast quicker, about 20 minutes.
- Add some piment d’espelette chilli peppers if you’d like it spicy.