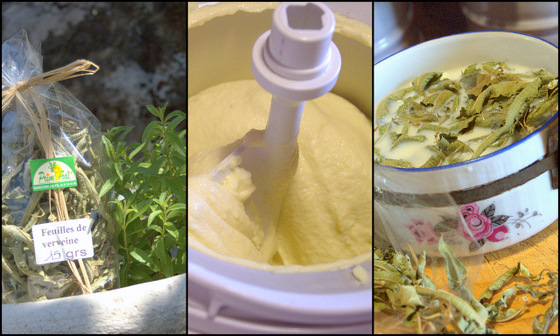
I love Lemon verbena…it dries beautifully, it makes a refreshing infusion, it adds zest to a cabinet, a room…and makes an elegant ice cream. And whichever season you’re in, an ice cream is always a good ending to a meal.


Suggestions:
- Use lavender flowers or other dried herbs that you like instead of the lemon verbena.
- If you want a lighter ice cream, use only milk instead of the cream. \For an even creamier version, substitute 1 cup of cream for one cup of crème fraiche.
- If you’re afraid of curdling the cream when heating, heat up only the milk and add the cream later.
 *****************************************************************************************
One thing I am finicky about in my home, is clothes hangers. I normally use wooden hangers, which are quite expensive for all our clothes. And I don’t really like thickly covered hangers. And I don’t like plastic hangers. And here at Coin Perdu, while we are still living in the barn, wooden hangers feel too extravagant. Since Hartman’s shirts are being ironed professionally, I have loads of wire clothes hangers, which I return, but there are always a few lying around. and while we were around the barbeque fire one evening, an idea was born to cover these wire hangers with some strips of torn fabric. I’m highly excited about my clothes hangers and have decided that they will just move into my clothes closet once our house is finished! not to mention my excitement about recycling, saving on money and being a wise consumer!

I used:
- Wire coat hangers.
- Old pieces of cotton fabric, cut/torn into strips of roughly 4 cm wide and about 150 cm long, although the length is not such an issue, since one can just start off with a new strip if you run out of fabric on a hanger. I used off cuts of toile de jouy fabric in shades of beiges and whites. I used cotton which is easy to use and to manipulate around the hanger. the thicker your fabric the more difficult it becomes. If you want a thicker covering, make your strips a bit wider, or wind closer together.
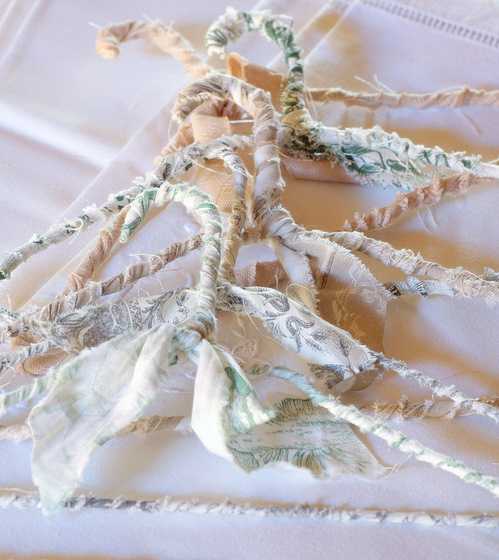
- I also tore my pieces of fabric so the edges are quite rough, giving nice texture to the hangers. I like the frayed edges and pieces of thread escaping wildly here and there. (See photo above)

Start at the top of the hook of the hanger and let a longish piece of your strip hang down to the middle(where you will tie the two strips together at the end.)
- With your long strip, start winding down the hook to the middle, making sure you capture well around the sharp point of the handle.
- If you run out of fabric halfway through a hanger, simply finish off tightly and start with a new strip of the same fabric, working forward and then a bit backward(like backstitching) and then continue. Both the end of the old strip and start of the new strip are now “buried” under the new strip.
- Make sure to make your windings tight. (See image above)
- When you have gone right around the hanger, you will end back at the middle, where your short piece of fabric strip is hanging.
- Tie the two strips together into a tight knot and let the strips hang down like a ribbon/bow.
- You can finish off the two strips by simply leaving them tied in a knot (like I did), OR work some ribbons or buttons or and other decoration of your choice.

…et voilà..a facelift for some ugly ole wire hangers!…